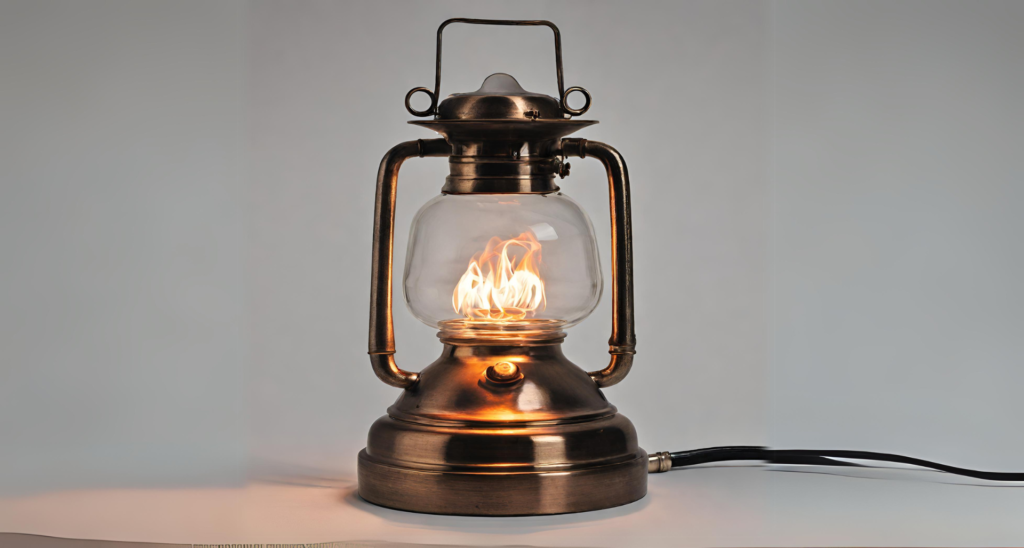
An alcohol lamp is a versatile tool used in various scientific, artistic, and culinary applications. It consists of a reservoir for alcohol fuel, a wick, and a burner. This guide will help you understand the components of an alcohol lamp, safety precautions to consider, how to choose the right fuel, and provide step-by-step instructions on setting up and using an alcohol lamp.
Understanding the Components of an Alcohol Lamp
Before diving into the setup process, it’s crucial to familiarize yourself with the components of an alcohol lamp. The reservoir, usually made of glass or metal, holds the fuel. The wick, typically made of cotton or fiberglass, absorbs the fuel and allows it to travel to the burner. The burner, where the flame is produced, is designed to provide a controlled and steady heat source.
Safety Precautions When Using an Alcohol Lamp
When working with any source of open flame, safety should be a top priority. Here are some essential safety precautions to follow when using an alcohol lamp:
- Choose a Suitable Working Area: Ensure that your workspace is well-ventilated and free from any flammable materials. It’s also crucial to have a fire extinguisher nearby.
- Wear Protective Gear: To protect yourself from accidental burns, wear heat-resistant gloves and safety goggles. Loose clothing should be avoided to prevent any contact with the flame.
- Handle with Care: When handling the alcohol lamp, be cautious of the hot surfaces. Use tongs or heat-resistant pads to move or adjust the lamp when it’s in use or still hot.
- Never Leave Unattended: Never leave an alcohol lamp unattended. Always extinguish the flame when you are finished using it.
By following these safety precautions, you can minimize the risk of accidents and work with an alcohol lamp confidently.
Choosing the Right Fuel for Your Alcohol Lamp
The fuel you choose for your alcohol lamp plays a crucial role in its performance. Denatured alcohol, also known as methylated spirits, is the most commonly used fuel for alcohol lamps. It is readily available, affordable, and burns cleanly. Other options include isopropyl alcohol and ethyl alcohol, but their availability may vary depending on your location.
When selecting the fuel, ensure it has a high alcohol content, preferably above 90%. Avoid using fuels containing additives or impurities as they can produce undesirable fumes or affect the flame quality. It’s important to consult the manufacturer’s instructions or guidelines for your specific alcohol lamp model to determine the recommended fuel type.
How to Set Up an Alcohol Lamp
Setting up an alcohol lamp is a straightforward process. Follow these steps to set up your alcohol lamp correctly:
- Prepare the Lamp: Ensure the reservoir is clean and free from any debris. If necessary, rinse it with some alcohol and let it dry before proceeding.
- Fill the Reservoir: Carefully pour the fuel into the reservoir, avoiding any spills. Fill it to about three-quarters full, leaving some space to prevent overflow when the fuel expands due to heat.
- Insert the Wick: Insert the wick into the burner, ensuring it reaches the bottom. The wick should be long enough to protrude from the burner but not so long that it touches the reservoir.
- Prime the Wick: Before lighting the lamp, prime the wick by saturating it with a small amount of fuel. This helps the wick absorb the fuel efficiently and ensures a consistent flame.
Lighting and Extinguishing the Alcohol Lamp
To light the alcohol lamp, follow these steps:
- Prepare the Area: Ensure your working area is clear of any flammable materials. Place the lamp on a stable surface, away from drafts.
- Light the Wick: Hold a match or a long-reach lighter close to the wick and ignite it. Avoid placing your hand directly over the lamp to prevent accidental burns.
- Adjust the Flame: Once the flame is lit, you can adjust its intensity by moving the wick closer or further away from the burner. Be cautious while making adjustments and avoid touching the hot parts of the lamp.
To extinguish the alcohol lamp:
- Allow Cooling: Before extinguishing the flame, allow the lamp to cool down for a few minutes. This ensures the lamp is safe to handle.
- Snuff the Flame: Use a snuffer or carefully blow out the flame. Avoid blowing too forcefully to prevent any fuel spills or accidents.
Adjusting the Flame Intensity
Controlling the flame intensity is crucial for various applications. To adjust the flame intensity of your alcohol lamp, follow these steps:
- Lower Flame Intensity: To reduce the flame intensity, lower the wick by gently pushing it down. This reduces the amount of fuel being drawn from the reservoir, resulting in a smaller flame.
- Increase Flame Intensity: To increase the flame intensity, gently push the wick upward, allowing more fuel to be drawn into the burner. Exercise caution while making adjustments to prevent accidental spills.
Common Uses of Alcohol Lamps
Alcohol lamps find applications in various fields. Here are some common uses:
- Laboratory Experiments: Alcohol lamps provide a reliable and controlled heat source for laboratory experiments that require gentle heating, such as sterilizing instruments or performing chemical reactions.
- Artistic Purposes: Artists often use alcohol lamps for techniques like flame polishing glass edges, encaustic painting, and creating unique surface textures on metal or ceramics.
- Culinary Applications: Alcohol lamps are handy for certain culinary techniques, such as caramelizing sugar on desserts, melting cheese, or flambéing dishes.
Maintenance and Cleaning Tips for Your Alcohol Lamp
Regular maintenance and cleaning ensure the optimal performance and longevity of your alcohol lamp. Here are some tips to keep in mind:
- Clean the Reservoir: Periodically, empty and clean the reservoir to remove any residue or impurities. Use a mild detergent and rinse thoroughly before refilling.
- Replace the Wick: Over time, the wick may become worn or damaged. Replace it when necessary to maintain a consistent flame.
- Inspect for Damage: Regularly inspect the lamp for any signs of damage, such as cracks in the reservoir or burner. If any parts are damaged, replace them before using the lamp again.
Troubleshooting Common Issues with Alcohol Lamps
Despite their simplicity, alcohol lamps may encounter a few common issues. Here are some troubleshooting tips:
- Flame Flickering: If the flame flickers or goes out, it may indicate insufficient fuel. Check the reservoir and refill if necessary. Additionally, ensure the wick is not too close to the burner, as this can cause the flame to extinguish.
- Sooty Flame: A sooty flame indicates incomplete combustion. Adjust the wick height to ensure the flame receives the right amount of oxygen. Additionally, ensure the fuel used is of good quality and free from impurities.
Alternative Uses for Alcohol Lamps
Aside from their traditional applications, alcohol lamps have some intriguing alternative uses:
- Emergency Lighting: In situations where electricity is unavailable, alcohol lamps can provide a temporary source of light. Place them in suitable candle holders for added stability.
- Insect Repellent: Some insects are repelled by the scent of burning alcohol. Use an alcohol lamp outdoors to help keep pesky insects away during gatherings or camping trips.
Conclusion
Mastering the art of setting up and using an alcohol lamp opens up a world of possibilities in various fields. By understanding the components, following safety precautions, and choosing the right fuel, you can confidently use an alcohol lamp for laboratory experiments, artistic endeavors, or culinary adventures. Remember to maintain and clean your alcohol lamp regularly to ensure optimal performance. With practice, you’ll become proficient in controlling the flame intensity and troubleshooting common issues. So, go ahead and embrace the versatility of the alcohol lamp in your endeavors!