Installing indoor stair lights was one of the best decisions I made for my home. Initially, my interest was purely aesthetic. I wanted to create a warm, welcoming ambiance that gently guides you through different levels of the house. However, I quickly realized the functional benefits were just as important. These lights illuminate each step, reducing the risk of accidents, especially in homes with children or elderly residents. Moreover, they can be energy-efficient, depending on the type of lights you choose, providing sufficient lighting without significantly increasing your electricity bill.
The versatility in design and functionality of stair lights also means they can complement any home décor. Whether you have a modern, minimalist home or a more traditional setting, you’ll find options that enhance your space. Beyond beauty and safety, stair lights can also increase your property’s value. They’re a relatively simple upgrade that can make your home more attractive to potential buyers, should you ever decide to sell.
Common Types of Indoor Stair Lights
When selecting stair lights, you’ll encounter an array of options, each with its unique features and benefits. Here are five common types that caught my eye during my research:
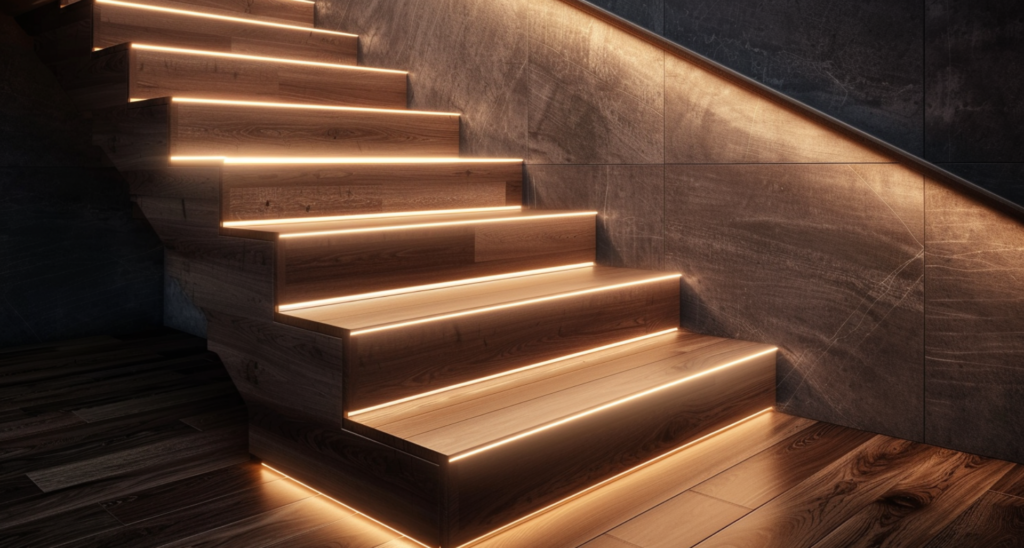
- LED Strip Lights: These are flexible strips that can be adhered to the underside of the stair railing or the side of each step. They’re energy-efficient and offer a modern look, with the ability to change colors and settings for a dynamic lighting effect.
- Recessed Wall Lights: Installed into the wall adjacent to your staircase, these lights provide a subtle, yet effective, illumination of each step. They’re particularly suitable for creating a soft ambiance and highlighting the architectural features of your staircase.
- Motion Sensor Lights: Perfect for both energy efficiency and convenience, motion sensor lights turn on automatically when movement is detected. This feature is especially useful in minimizing electricity usage and enhancing safety during the night.
- Step Lights: These are small, individual lights that can be installed directly into the steps. They offer precise lighting, directly illuminating each tread without overwhelming the space with light.
- Wall Sconces: While not exclusively designed for staircases, wall sconces can be strategically placed to light up the stairway. They come in various designs, from modern to traditional, adding both light and decorative elements to the area.
Planning the Installation Process
Before diving into the installation, it’s crucial to plan carefully. Start by assessing your staircase and deciding which type of stair light best suits your needs and aesthetic preferences. Consider factors like the size of your staircase, the existing décor, and how much light you need.
Next, sketch a rough layout of where each light will go. This step helped me visualize the final look and ensured I purchased the correct amount of lights and materials. Don’t forget to account for the power source. You’ll need to determine whether your stair lights will be battery-operated or hardwired into your home’s electrical system. Each option has its pros and cons, so weigh them carefully.
Lastly, check your local building codes and regulations. Some areas have specific requirements for electrical installations, and you might need to obtain a permit or have the work inspected. This preliminary step is essential to ensure your installation is both safe and compliant.
Tools and Materials Needed for Installation
Embarking on the installation process requires gathering the right tools and materials. Here’s a list of essentials that I found indispensable:
- Drill: For creating pilot holes for screws or for making space for recessed lights.
- Screwdriver: Needed for securing fixtures and covers.
- Wire Strippers: Essential for preparing electrical wires for connection.
- Electrical Tape and Wire Nuts: For safely connecting wires.
- Measuring Tape: To precisely measure distances between lights and ensure an even installation.
- Stud Finder: Particularly useful for finding secure attachment points for wall lights.
- Level: To ensure your lights are perfectly horizontal or vertical, depending on the installation.
In addition to these tools, you’ll also need the stair lights of your choice, any necessary mounting hardware, and possibly electrical cabling, depending on whether your lights are battery-operated or need to be wired to your home’s electrical system.
Preparing the Staircase for Installation
Preparation is key to a successful installation. Begin by cleaning the area where you’ll be installing the lights. This step ensures that there’s no dust or debris that could interfere with the adhesives or drilling. Next, use your measuring tape and possibly a pencil or painter’s tape to mark the exact spots where each light will go. This preparation ensures that your installation is symmetrical and evenly spaced, which is crucial for achieving the desired visual effect.
If you’re working with hardwired lights, you may need to plan the route of your electrical cables. In some cases, this might involve drilling through studs or running wires behind walls. Always turn off the power at the circuit breaker before handling any electrical components to ensure your safety.
Step-by-Step Guide for Installation Guide for Indoor Stair Lights
1. Measure and Mark
Begin by measuring the distance between where each light will be installed. Use a pencil or painter’s tape to mark the exact locations. This step is crucial for ensuring that your lights are evenly spaced and aligned.
2. Drill and Prepare
For recessed lights or where mounting hardware is required, drill pilot holes at your marked spots. If you’re installing recessed wall lights, you may need to cut out sections of the drywall to fit each light.
3. Wire the Lights
If your lights are hardwired, strip the ends of the wires and connect them to your home’s electrical system. Use wire nuts to secure the connections and electrical tape to insulate them. Remember, safety first: ensure the power is off before starting this step.
4. Install the Lights
Secure each light in its designated spot, using screws or adhesive, depending on the type of light. For strip lights, remove the adhesive backing and press them firmly in place.
5. Test the Lights
Once all the lights are installed, turn the power back on (for hardwired systems) or install batteries (for battery-operated lights) and test each light to ensure they’re working correctly.
Common Issues During Installation and How to Solve Them
Even with careful planning, you might encounter some hiccups during installation. Here are five common issues and their solutions:
- Uneven Spacing: If lights are not evenly spaced, it can disrupt the visual flow. Always double-check measurements before drilling or adhering lights.
- Electrical Connection Issues: Loose or incorrect wiring can lead to lights not working. Double-check all connections and ensure they’re secure and properly insulated.
- Insufficient Light: Underestimating the number of lights needed can result in dim areas. Test the lighting before completing the installation to ensure it meets your needs.
- Damaged Lights: Handle all components carefully during installation to avoid damaging delicate parts.
- Incorrect Power Source: Ensure all hardwired lights are connected to the correct circuit and that battery-operated lights have fresh batteries.
Tips Maintenance and Care for Indoor Stair Lights
Maintaining your stair lights ensures they continue to function correctly and look great. Here are five tips for care:
- Regular Cleaning: Dust and clean your lights regularly to maintain brightness.
- Check for Loose Fixtures: Periodically inspect each light to ensure it’s securely attached.
- Replace Burned-Out Bulbs Promptly: This keeps your staircase evenly lit and maintains the ambiance.
- Monitor for Electrical Issues: Be vigilant for signs of electrical problems, such as flickering lights, and address them promptly.
- Update as Needed: Technology and styles evolve, so consider updating your lights every few years to maintain a modern look and functionality.
Conclusion: Enhancing Your Home with Indoor Stair Lights
Installing indoor stair lights is a rewarding project that significantly enhances the safety, aesthetics, and value of your home. By following this step-by-step guide, you can transform your staircase into a beautifully illuminated focal point. Remember to plan carefully, choose the right lights for your space, and maintain them well to enjoy the benefits for years to come.